How to Permanently Erase Data from iPhone and Other iOS Devices
These days with so many services and products being so heavily reliant on modern technology and the internet, it seems as if it couldn’t be easier for “Big Brother” to watch our every move. Privacy is a rare thing to find in this day and age, and you may have seen in the news all of the various concerns being raised about data protection laws and concerns. Data protection is serious business thanks to smart phones, computers, and smart devices so knowing how to permanently delete your data before selling or trading your iPhone, iPad or any other iOS device is very important.

Your iPad, your iPhone, or your other iOS device is basically a super powered computer that is handled and can be transported around with you pretty much anywhere. You do your banking with it, you send personal emails, it stores your address, your work details, and plenty of other highly sensitive and personal information that you wouldn’t want falling into the wrong hands. Some people think that clearing their history or deleting their recent searches is enough to clear personal data, when in reality, that data is still easily accessible when you know how. When you sell or recycle and upgrade your device for example, you have no idea who will receive it next, and what they’re doing with it. 9 times out of 10 they will delete all info and wipe it clean but occasionally the devices can fall into the wrong hands, and the last thing you will want is somebody having access to your personal banking details, your home address, private pictures etc, etc. The good news is that by downloading our data eraser for iOS devices and following these simple steps, then deleting your data simply couldn’t be easier.
|
|


- Method 1: Permanently delete all data and information from your iPad or iPhone before selling or recycling
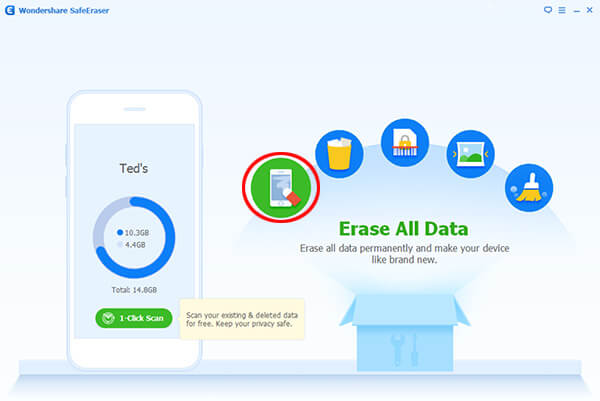
- Step 1: Launch the program after the installation is complete and connnect your iOS device to your computer via USB cable.

Step 2: Click on the ‘Erase all data’ button and there will be a prompt screen on the right asking you to confirm that you do want to erase all data. You will then be required to type ‘delete’ to confirm you wish to delete all data.
Note: Before you do that however, you will be required to enter a security level dependent on how you want your files erased. Low level security will replace all date on your device with zeros, medium level will replace them with junk files, and high level is recommended for if you have personal data saved on the device such as banking apps, personal records, financial info etc.
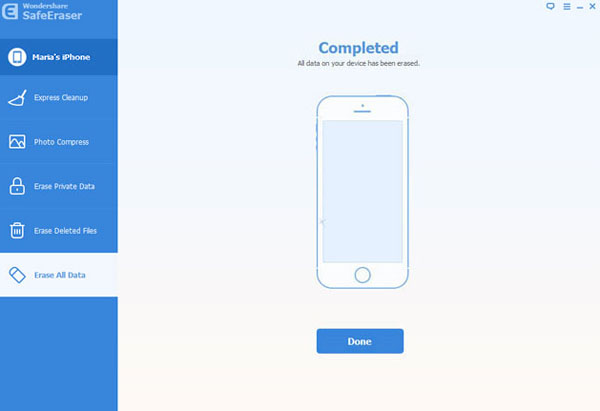
Step 3: To confirm the completion of the erasure of your files, the screen on the right will now be blank, with text above the icon stating that the data deletion was completed. Click done, and you will have immediate peace of mind.
Method 2: Erase deleted content permanently from your iPad or iPhone device
To ensure that deleted content like text messages are permanently erased from your iPhone or iPad, follow these steps listed below.
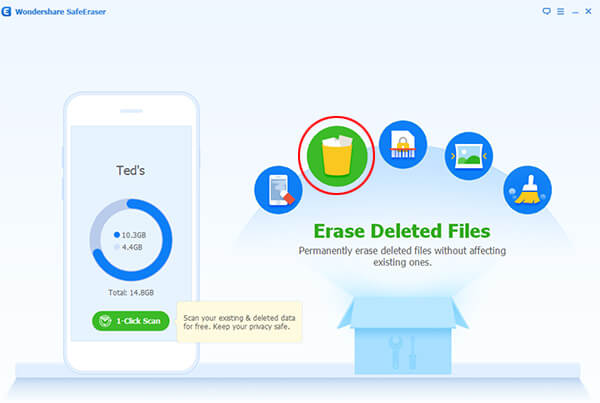
Step 1: Launch the program and connet your iPhone or iPad to your computer. Now select the ‘Erase deleted files’ option and click the ‘start scan’ where the program will begin to analyze and scan all existing data saved on your smart device.
Step 2: After the scanning, all files located by automatically be selected by default, so if you do wish to keep any files, you will have to unselect them first. To erase the files that you want gone, simply click the ‘Erase Now’ button and when prompted, type the word ‘delete’ to confirm you do wish to delete the files.
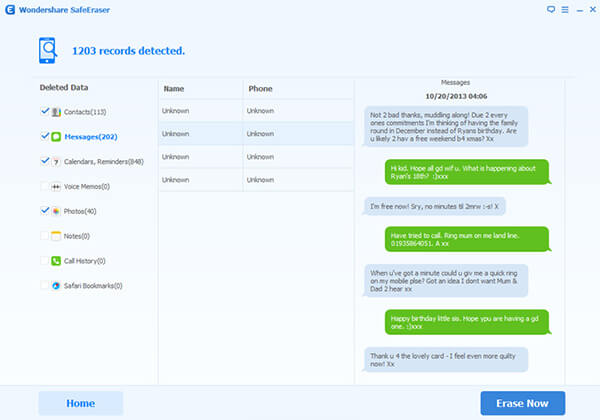
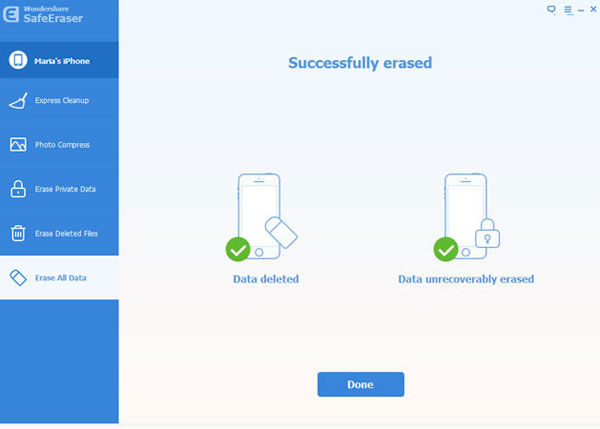
Step 3: The program will now begin to erase the selected data. The file type, the files themselves, and the estimated time to completion will all be displayed on the right of the screen. Once finished, you will get a message on the right with the text ‘Successfully Erased’ displayed. Click ‘Done’ and that’s it.